


A clean turtle tank is crucial for maintaining the health of your turtle, while a dirty tank can lead to various health problems for your pet. Therefore, we will be talking you through How To Clean A Turtle Tank in this post.
A filthy habitat can not only trigger infections and diseases, but it can also induce stress and undermine immune function.
Guaranteeing that your turtle’s enclosure is sanitary and well-managed can avert these complications and cultivate a wholesome surrounding for your pet.
During the sanitation process of your turtle habitat, adhering to the correct methodologies and protocols is crucial to ensure the effective disposal of waste and keeping the enclosure in prime state. This will contribute to your turtle’s health and boost their overall welfare.
In order to maintain a clean turtle tank, regular cleaning, and maintenance are necessary. This includes removing any uneaten food, feces, and debris from the tank, as well as regularly changing the water and cleaning any filtration equipment.
Following these steps and keeping your turtle tank clean can provide your pet with a safe and healthy environment to thrive in.
Transferring The Turtle
When it comes to transferring your turtle to a new tank, there are a few critical steps to follow. Here’s a 6-step guide to help you out:
- Prepare the new tank: Make sure the new tank is clean, at the right temperature, and has enough space for your turtle to swim and bask.
- Scoop out the turtle: Gently scoop up your turtle with a net or your hands, being careful not to harm or stress it.
- Place the turtle in a temporary container: Fill a container with some old tank water and transfer it into it. This will make it easier to transport it to the new tank.
- Empty the old tank: Remove any remaining water, substrate, and decorations from the old tank. Thoroughly clean and disinfect the tank to ensure a fresh start for your turtle.
- Set up the new tank: Fill the new tank with clean, dechlorinated water. Add any necessary equipment, such as a filter and heater. Arrange decorations and create a basking area for your turtle.
- Reintroduce the turtle: Slowly acclimate the turtle to the new tank by gradually adding small amounts of new tank water to its temporary container. After about 15-20 minutes, carefully transfer the turtle into the new tank.
Additional details:
Monitoring your turtle closely after transplantation is essential to ensure it adjusts well to the new environment. Provide plenty of hiding spots and proper lighting and heating conditions. Avoid overcrowding the tank, and make sure your turtle has enough space to swim and bask comfortably.
Make sure to create a safe and clean environment for your turtle. Follow these steps to give your pet the best possible living conditions and ensure its well-being. Your turtle will thrive in its new tank with proper care and attention.
Removing Filters And Heaters
- Unplug the filter and heater from the power source.
- Remove any decorations or obstacles around the filter and heater.
- Carefully detach the filter from the tank, ensuring not to spill any water or harm the turtles.
- Drain the water from the filter into a bucket or sink.
- Disconnect the heater by unscrewing it from its mounting or removing any clips.
- Gently lift the heater out of the water, not damaging it or getting burned.
As a unique detail, make sure to clean and maintain the filters and heaters regularly to ensure their efficient functioning. Neglecting their upkeep can lead to poor water quality and potentially harm the turtles.
To ensure your turtles’ health and safety, following these steps and properly cleaning and maintaining your tank is crucial. Take advantage of this vital task to provide your beloved reptiles with a suitable and clean environment.
Taking Out Large Objects
Taking out large items in a turtle tank involves careful removal of oversized debris to maintain a clean and healthy environment. Here is a step-by-step guide on how to perform this task effectively:
- Assess the tank: Begin by evaluating the size and type of large objects present in the tank. This could include rocks, logs, or other decorative items that may need to be removed for cleaning.
- Clear the path: Before attempting to remove any large objects, ensure there is a clear path for extraction. Move any smaller items out of the way to avoid causing damage or disturbing the turtle.
- Lift with care: When lifting more oversized items, use proper lifting techniques to avoid strain or injury. Having a second person assist in safely lifting heavier objects out of the tank may be helpful.
- Clean and Inspect: Once the significant objects are removed, take the opportunity to clean and inspect both the objects and the tank. Remove any debris or waste that may have been hiding underneath the objects before returning them to the tank.
- Reintroduce objects: After cleaning, carefully place the large objects back into the tank, ensuring they are securely positioned without posing a risk to the turtle’s well-being.
Remember, regular maintenance and cleaning of a turtle tank is critical for the healthiness and happiness of your aquatic pet. Properly removing and cleaning large objects can construct an uncluttered and secure environment for your turtle to thrive.
While performing this task, avoid using harsh chemicals or abrasive materials that may harm the turtle or the tank’s ecosystem.
Moving The Tank To A Cleaning Area
Moving the tank to an area for cleaning requires careful handling and strategic planning. Ignoring this step can lead to unnecessary stress on the turtle and potential damage to the tank.
- Step 1: Empty the tank – Start by removing all the water, accessories, and the turtle from the tank. Use a gentle approach to avoid startling the turtle and causing unnecessary stress.
- Step 2: Secure the tank – Ensure that the tank is adequately secured to prevent any accidents during transportation. Use straps or belts to secure the lid, if necessary.
- Step 3: Transfer to the cleaning area – Slowly and carefully move the tank to the designated cleaning area. Be mindful of any obstacles or potential hazards along the way to avoid accidents or damage to the tank.
It is important to note that the turtle should be kept in a safe and comfortable environment during the cleaning process. This can be achieved by placing the turtle in a temporary holding tank or bucket with clean water and providing necessary heating or filtration.
Rushing or mishandling the tank can lead to potential harm to the turtle and damage to the tank.
In the past, there have been instances where improper tank handling during transportation resulted in accidents, and turtles have been known to escape from inadequately secured tanks, leading to potential harm or loss of the turtle. Therefore, it is essential to properly secure the tank during the moving process to avoid any unfortunate incidents.
Emptying The Entire Tank
The process of removing all the water from the turtle tank is an essential task that must be done regularly to maintain a clean and healthy environment for your pet.
First, ensure a clean and sturdy bucket or container is ready to collect the water. This will prevent any spillage or contamination during the emptying process.
Start removing the water in small increments rather than draining it all at once. This gradual approach helps to minimize stress on the turtles and prevents any sudden changes to their habitat.
Use a siphon or a water pump to remove the water efficiently.
While emptying the tank, please take the opportunity to clean it thoroughly. Scrub the walls, decorations, and any other surfaces with a non-toxic aquarium-safe cleaner. Rinse everything well before refilling the tank.
It is important to note that when emptying the tank, you should also inspect the equipment, such as the filter and heater, to ensure they function correctly. This will contribute to the general well-being of your pet turtles.
Scrubbing And Rinsing The Tank And Its Contents
Scrubbing and rinsing the tank and its contents is essential to hold a clean and healthy habitat for your turtle. Here’s a step-by-step guide to help you in this process:
Dip a sponge or coarse rag in the cleaning solution and scrub all sides of the tank, paying extra attention to corners and areas where panels come together. Tilt the tank to one side to keep the substrate out of the way while scrubbing.
- Step 1: Preparation
- Step 2: Gradual Removal
- Step 3: Cleaning the Tank
- Empty the tank: Begin by removing your turtle from the tank and placing it in a secure container with clean water. Empty the tank of any water and remove all decorations and accessories.
- Scrub the tank: Using a soft-bristle brush or sponge, scrub the tank walls, floor, and any other surfaces to remove algae, debris, and dirt. Be thorough but gentle to avoid damaging the tank.
- Rinse the tank: After scrubbing, thoroughly rinse the tank with clean water. Make sure to remove all traces of soap or cleaning agents, as these can be harmful to your turtle.
- Clean the accessories: Clean all the decorations, rocks, plants, and filters that were removed from the tank. Scrub and rinse them thoroughly to remove any dirt or algae.
- Reassemble the tank: Once everything is clean and dry, carefully put the tank back together, ensuring that all accessories are properly placed. Refill the tank with fresh, dechlorinated water to the appropriate level.
Products We Recommend
| Image | Product | Price |
|---|---|---|
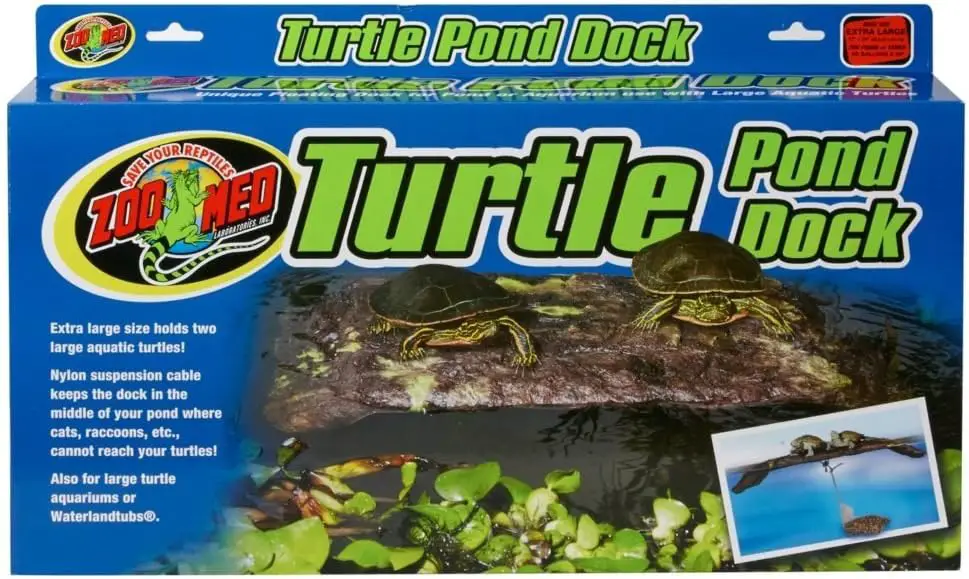 | Zoo Med Turtle Dock | Check Price On Amazon! |
 | Zoo Med Aquatic Turtle UVB & Heat Lighting Kit | Check Price On Amazon! |
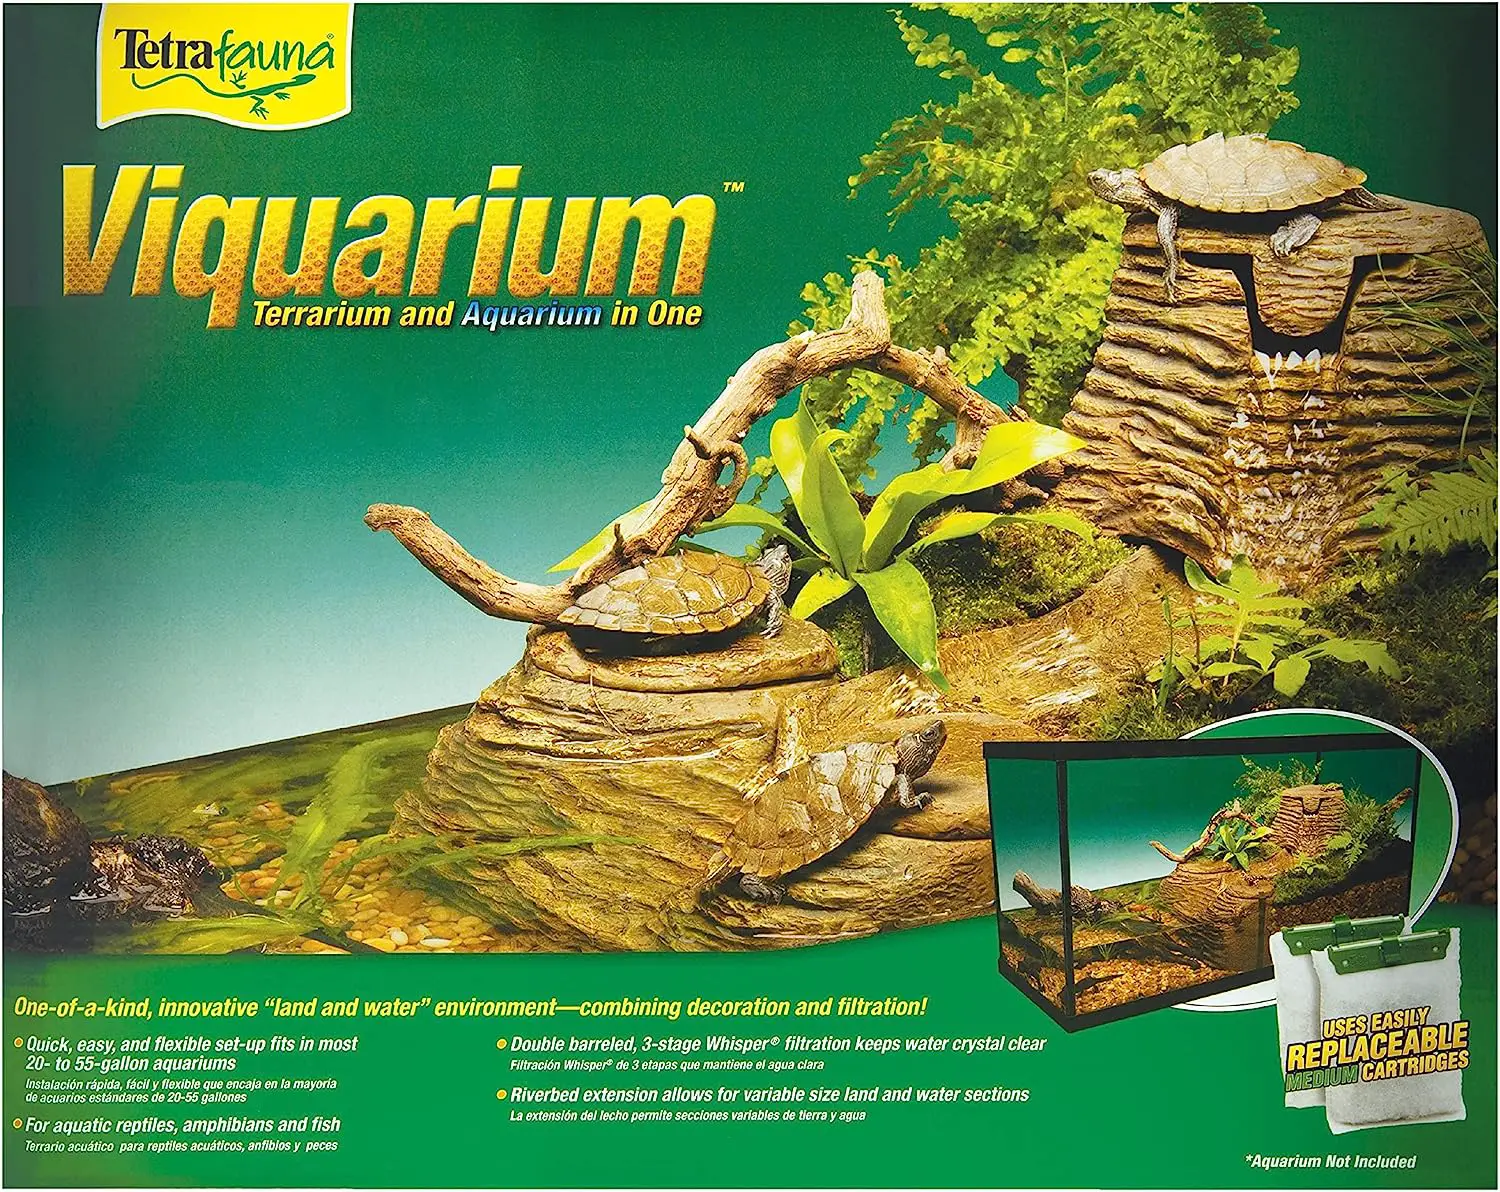 | TetraFauna Viqaquarium, All-In-One Terrarium | Check Price On Amazon! |
Key Takeaway
- A clean turtle tank is vital for the health and well-being of the turtle. Regular cleaning helps maintain water quality, prevents the accumulation of harmful bacteria, and reduces the risk of diseases.
- When cleaning a turtle tank, it is crucial to safely transfer the turtle to a temporary enclosure to avoid stress or injury. Carefully handle the turtle to minimize any discomfort or harm.
- During cleaning, ensure that all filters and heaters are removed from the tank to prevent damage and facilitate thorough cleaning. Cleaning these components separately will help maintain their efficiency.
- Before cleaning the tank, remove any large objects, such as rocks or decorations, to facilitate easier access and prevent damage during the cleaning process.
- To clean the tank effectively, move it to a designated cleaning area where spills or messes won’t cause damage. Choose a location with adequate space and access to water for rinsing.
- Empty the water from the tank, including any remaining debris or waste. Thoroughly drain the tank to create a clean and fresh environment for the turtle.
- Scrub the tank and all its contents, including decorations and rocks, using a mild, turtle-safe cleaner. Rinse everything thoroughly to remove any cleaning residue before refilling the tank with fresh, dechlorinated water.
Five Facts About How To Clean A Turtle Tank:
- ✅ Cleaning an aquatic turtle tank should be done more than once a month to keep the water clean and ensure the turtle’s health.
- ✅ Anthony Menendez, a reptile expert and founder of Shadow’s Reptiles, recommends removing the filters and heaters from the tank before cleaning.
- ✅ Large objects such as plants, rocks, and wood should be removed from the tank before cleaning to ensure a comprehensive and adequate cleaning process.
- ✅ The tank should be moved to a designated cleaning area, such as a grassy area outside or a bathtub, to facilitate the cleaning process.
- ✅ A cleaning solution can be made using chlorine bleach or a mixture of distilled white vinegar with water, but it’s important to avoid using household cleaners or disinfectants.
FAQs About How To Clean A Turtle Tank
Q. How often should I clean an aquatic turtle tank?
A. For optimal health, cleaning the tank a little more than once a month is recommended. Regular cleaning ensures the water is clean for the turtle to drink and swim in.
Q. What should I do with the turtle when cleaning the tank?
A. Before cleaning, gently transfer the turtle to a temporary container with enough water for swimming and a climbing platform. This container should only be used for temporary housing during tank cleaning.
Q. How do I clean the filters and heaters of the turtle tank?
A. Unplug and remove the tank’s electric devices, such as filters and heaters. Clean them separately in a sink or bucket. Remember their original placement to avoid disorienting the turtle when placing them back.
Q. How do I clean the large objects in the turtle tank?
A. Remove plastic or live plants, large rocks, or pieces of wood from the tank individually. Place them in a separate bucket or the bathtub if you’re cleaning the tank, dedicated solely for this purpose.
Q. What cleaning solution should I use for scrubbing the turtle tank?
A. Mix 0.5 cups of chlorine bleach for every 1 gallon of water or combine 1/4 cup of plain distilled white vinegar with 1 gallon of water. Avoid using household cleaners or disinfectants.
Q. How should I scrub the turtle tank?
A. Dip a sponge in the cleaning solution and scrub all sides of the tank, paying extra attention to corners and areas where panels come together. Tilt the tank to one side to keep the substrate out of the way while scrubbing.